Limit switches are used for reference (homing procedure) and as a safety feature.
In order for that software to recognize limit switch activation and makes appropriate action, we need to configure limit switch inputs in settings: File/Settings/Motors/Limit Switches.
The examples below will demonstrate the use of different limit switch wiring methods for the X-axis. All shown principles can be used for all other axes.
Limit switch input configuration
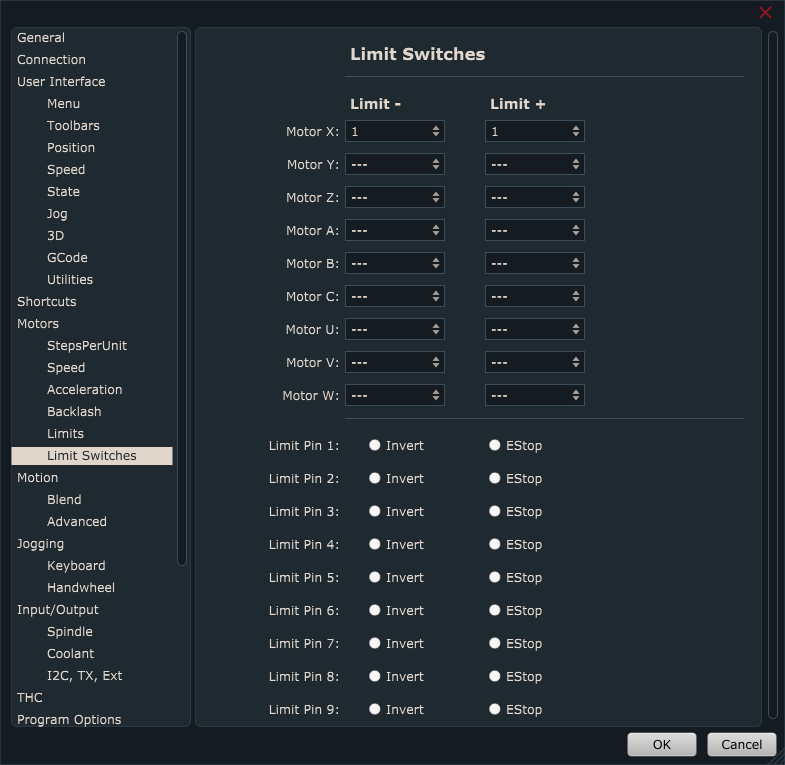
Example 1: CNC machine uses only one limit switch for X-axis (for positive direction), the switch is connected to limit input 1:

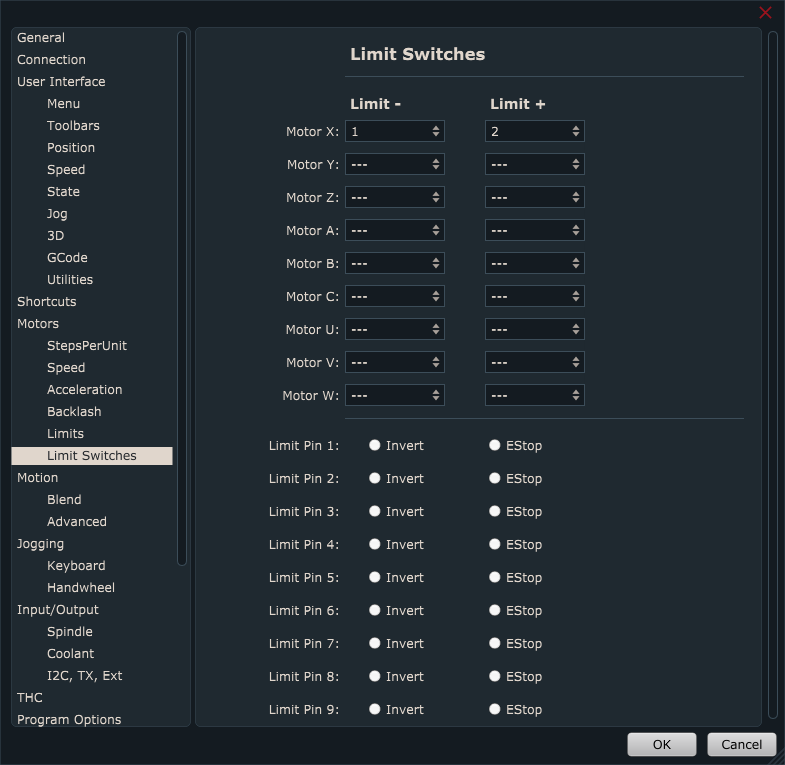
Example 2: CNC machine uses two limit switches for X-axis ( for positive and negative direction), both switches are connected to limit input 1:
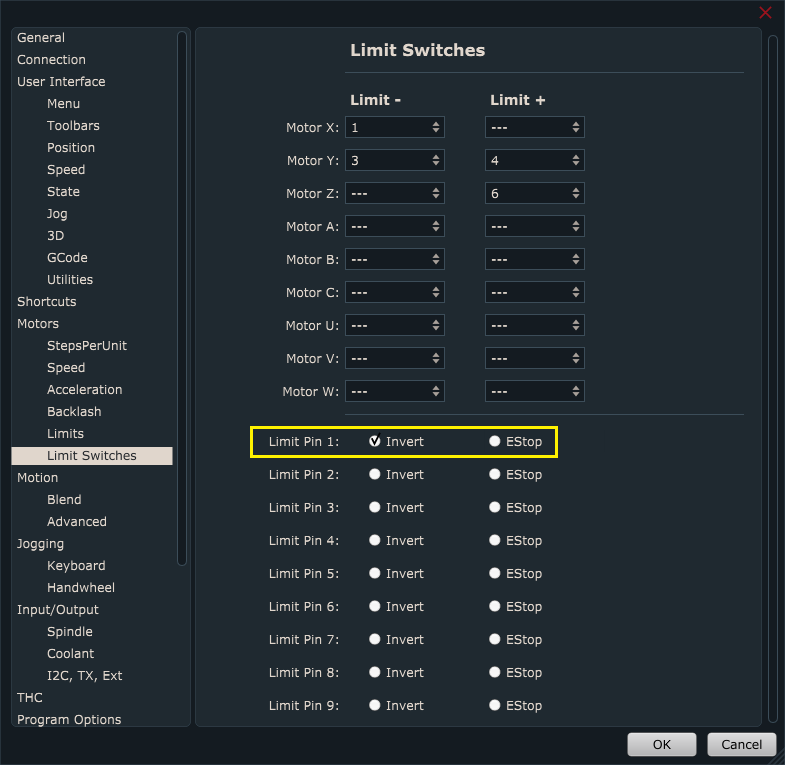
Example 3: CNC machine uses two limit switches for X-axis ( for positive and negative direction), each switch is connected to separate limit input, 1 and 2:
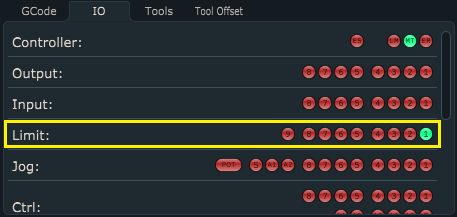
Limit switch test:
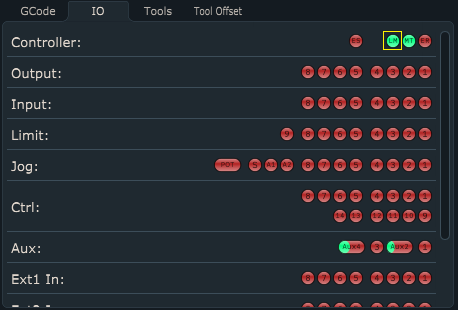
Test if PlanetCNC TNG software recognizes limit switch activation. On the main screen click the “IO” tab and observe controllers Limit behavior:
Invert option:
If you use normally closed type of limit switches then you can invert controller limit input in settings: File/Settings/Motors -> Limit Switches
Click the radio button next to the limit pin that you wish to invert.
At this point, limit switches are connected with the controller and PlanetCNC TNG software recognizes limit switch activation.
Limit switches can now be used as a reference for purposes of Homing procedure.
In order that limit switches are used also for safety purposes, please follow the steps below.
Estop option:
In order that Estop to be activated and the machine stops during machine operation or jogging (in case of the active limit switch), you need to enable its Estop radio button.
If the limit switch is activated during the program run, the machine will stop and Estop will be activated. If the limit switch is activated during machine jogging, the machine will stop without Estop.

Enable/Disable hard limits
To enable hard limit switch stop settings, you need to make sure that they are enabled under Machine/Motors, Limits,Probe/Hard Limits Enable
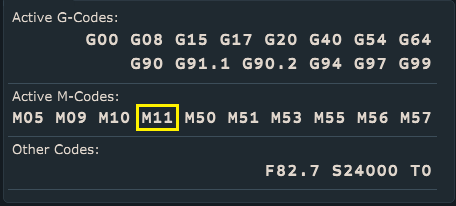
You can also use gcode command M11. M11 P1 activates hard limits and M11 P0 disables hard limits.
To observe Hard Limits enable/disable state, you can do that by observing:
-Machine/Motors, Limits, Probe/Hard Limits Enable menu. Checked for enabled, unchecked for disabled

-LM light under IO tab which will toggle according to the above settings. Green when hard limits are enabled, and red when they are disabled
-M11 mode under Active M-codes state panel. When enabled, M11 is visible, when disabled M11 is not visible.