
Notes
Spoilboard Resurface
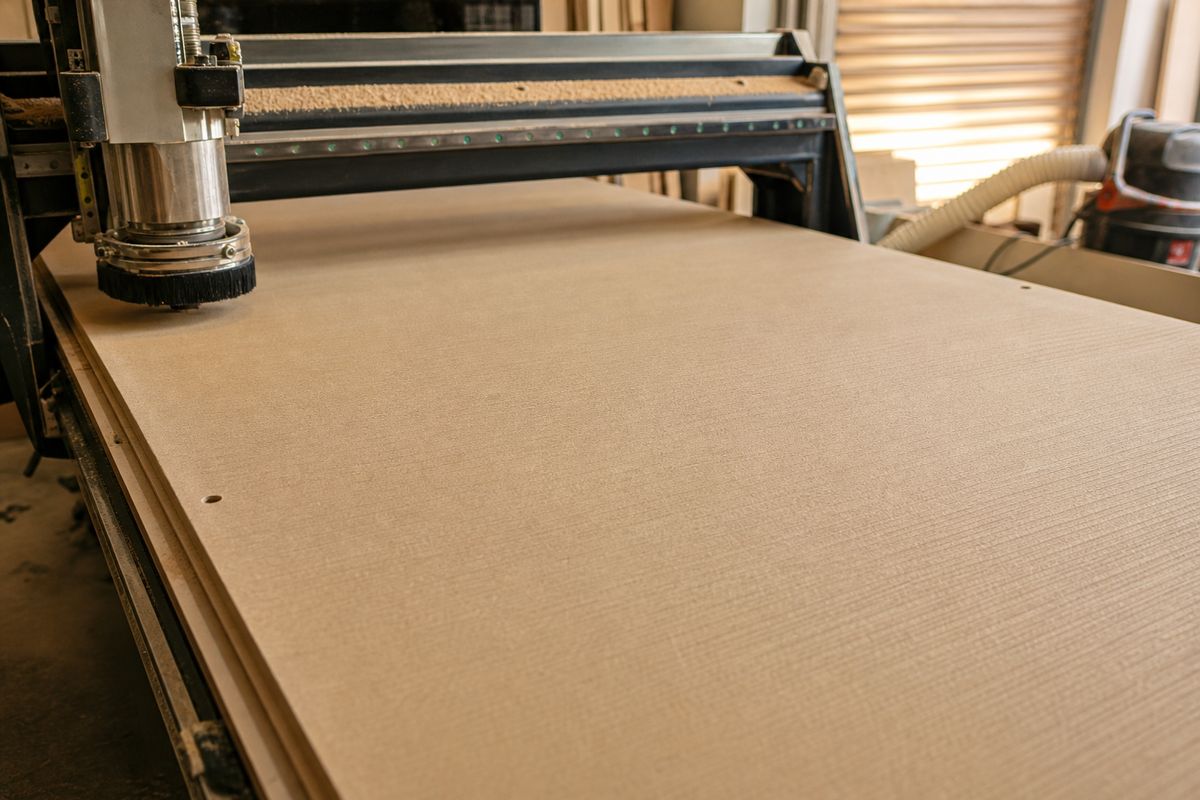
A tired spoilboard quietly ruins depth, vacuum hold and edge finish. This note covers when to skim it and how to keep the bed honest.
Why the bed matters more than the feed rate
Most router complaints we get on the phone start with the toolpath or the cutter. Parts are lifting, the last pass leaves a skin on the bottom, or one corner of the sheet cuts through while the other corner leaves a tab. Nine times out of ten the problem sits under the sheet. An MDF spoilboard that has been cut into for months is no longer flat, it has grooves where through-cuts went a little deep, and the vacuum leaks out through all those channels.
Resurfacing is simple work, but it has to be planned. A skim takes a sheet's worth of time on a large bed, and if it happens in the middle of a rush order nobody is happy. We would rather a shop puts it on the calender the same way it books a filter change on the extraction.
Signs the board is due
- Small parts shift on the last pass even with full vacuum
- Through-cut depth has crept past 0.5 mm to get clean edges
- Visible grooves or raised fuzz along the usual nesting lines
- Vacuum gauge reads lower than it did after the last skim
How we skim a spoilboard
Use a wide surfacing cutter, run it at a shallow step down, and take off only what is needed to clear the deepest groove. On most beds that means 0.3 to 0.8 mm. Taking off two or three millimetres each time feels thorough, but it eats a 16 mm or 18 mm board in a few months and then the vacuum zones start pulling through thin spots. Set a stepover around 40 to 60 percent of the cutter diameter, keep the feed steady, and let the extraction run the whole time because MDF dust from surfacing is very fine.
After the skim, give the board a light sand with a block to knock off the fuzz and blow it clean. Some shops seal the edges of the board with a coat of sanding sealer so the vacuum does not escape out the sides. Do not seal the top face, the air needs to pull through it. Then re-zero Z from the fresh surface and write the new board thickness on the shift card so the next operator knows what is left.
If you run a mix of machines from our machines range, keep one resurfacing program per bed size saved in a clear folder. Guessing the bed limits on a Monday morning is how gantries hit end stops.
Local conditions that change the schedule
Coastal workshops in Durban and Gqeberha see MDF swell a little when the humidity sits high for days. A board that was flat in the dry season can show a slight hump in the middle by February, so check it with a straight edge after long wet spells. Inland shops on the Highveld deal with dry air and fine dust, which clogs the board's surface and drops vacuum even if the board is still flat. A quick vacuum test with a scrap sheet tells you which problem you have before you start cutting.
Load shedding adds its own trouble. If the power drops mid-skim, the spindle and vacuum stop together and the cutter can leave a step where it paused. Plan the skim inside a safe power window, or run it on generator if your setup allows, and restart from the start of the row rather then trying to pick up halfway.
Keep a simple record
Note the date, the amount removed and the board thickness after each skim. When the board reaches about 10 mm it is time to order a new sheet and plan a weekend swap. For the full cell layout around the router, see our cells pages and the matching dust wipes note. If your vacuum still struggles after a fresh skim, send the bed size, pump model and a photo of the gauge through our contact form and we will help you check the zones.