
Notes
Photo Angles
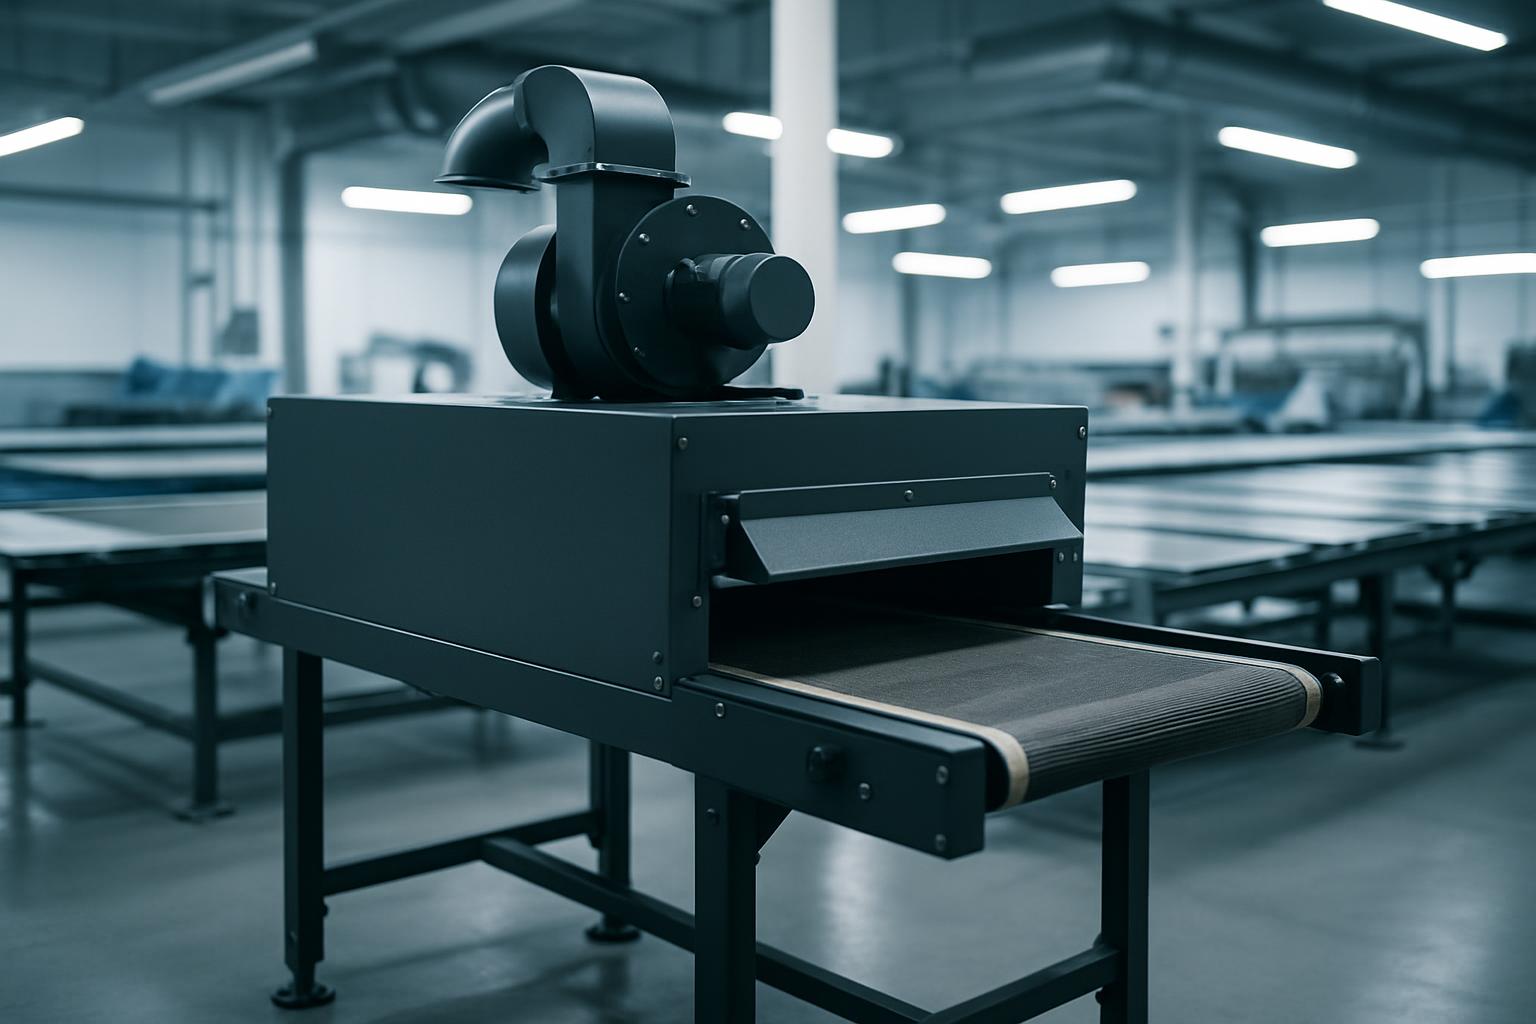
A practical floor note on machine photos for teams that want cleaner starts around the CNC table.
Good machine photos solve workshop problems quickly. A wide shot of the full router, a close-up of the spindle or torch, and a clear view of the control screen give technicians something useful to work from. Photo Angles explains what to photograph before logging a CNC fault.
These are the photos that help most when a router, mill, or plasma table needs attention. Include one full machine view, one close shot of the fault area, and a readable controller screen so the workshop record starts with facts. If you send the contact form, say whether the machine is a router, mill, or plasma cell.
Views that matter first
- Full machine from operator side
- Close photo of fault, label, or damage
- Controller screen shown without glare
- Machine nameplate and sender details included
When you gather support photos, shoot the router, spindle, torch, controller or extraction unit from the front and the side, with the model plate visible in at least one frame. Clear angles let a technician identify the setup without a call-back.
Typical workshop photo set
Photo Angles explains which machine views help most when a workshop needs support, pricing, or a parts check. Good angles around the table, spindle, controller, and extraction save time and reduce guesswork.
Begin with the machine standing still and powered safely for inspection. Take a wide image of the bed or table, then move in on the spindle nose, torch carriage, tool holder, gantry, cable chain, and any visible fault point. In South African workshops, dust, swarf, and smoke residue can hide the cause, so wipe only enough to reveal the area before you photograph it.
Lighting changes the usefulness of machine photos more than most teams expect. Open roller doors can throw hard backlight across a controller screen, while workshop LEDs often reflect off guards and polished aluminium parts. Step slightly to the side, hold the phone level, and capture one extra frame from each position before the machine is touched.
What the images should show
A useful set of photos shows machine condition, component position, and the state of the part or sheet on the table. That means visible stops, clamps, rails, consumables, and any alarm or program line on the controller. Clear images reduce guesswork when checking wear, impact marks, missing parts, or setup errors.
Before widening the discussion, make sure the images cover the whole setup from bed to control. Check that the file set includes the machine badge, fault area, and one wider workshop view if access or extraction may be part of the issue.
- Wide shot of the complete table
- Fault captured before parts are moved
- Controller alarm visible in one image
Conditions that affect machine photos
South African workshop conditions can make machine photos harder to read than expected. Fine MDF dust settles on rails and black cable tracks, coastal humidity can stain bright metal parts, and plasma residue can mask cracked consumables or warped slats. Photograph the machine as found, then add a second image after a light clean if the detail is still hidden.
Power interruptions also matter when photographing CNC faults. After load-shedding or an unexpected stop, include the controller screen, home position area, and the first affected part if a cut or toolpath shifted. On inland sites and coastal sites alike, one image of the electrical cabinet exterior can also help show heat, dirt build-up, or water exposure.
Operated by Astros Marketing (Pty) Ltd from 2 Makro Place, Sunnyrock 1401.
Photo checklist at the machine
A practical floor note on machine photos for teams that want cleaner starts around the CNC table.
Keep a short photo checklist near the controller or in the job file for shutdowns, faults, and parts queries. It should list the full machine view, the fault detail, the screen, the tooling area, and the material on the table. When buyers or supervisors ask what happened, the image record is easier to follow than memory alone.